General Information
The Minimum Data Set Validation (MDS) feature provides the ability to check the information provided by the various users of the system against the Minimum Data Set reporting requirements that govern the health program.
This user guide focuses on how to use the Minimum Data Set Validation feature.
Navigating to MDS Validation
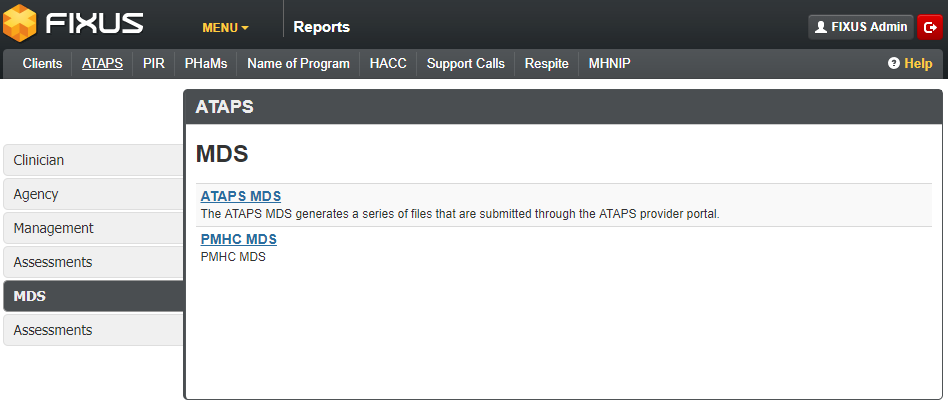
To navigate to the Minimum Data Set Validation and Correction feature, click on the Menu link next to the Fixus logo, and from the drop-down menu select Reports.

A screen similar to that below will be displayed. You may have a different number of tabs on the left side of the page, this is dependent on what reports you have permission to view. By navigating to the MDS tab, and if your permissions allow access, you will see a link to the Minimum Data Set you wish to validate your program against. Click on this link to access the MDS Validation feature.

Validating Your Data
The process of validating your data does not affect the information stored within the Fixus system directly. It checks each record against a set of rules (minimum data set) and highlights records that are not considered complete. You will then be provided with a reason and a method to open the record in order to correct the record.
Using Filters
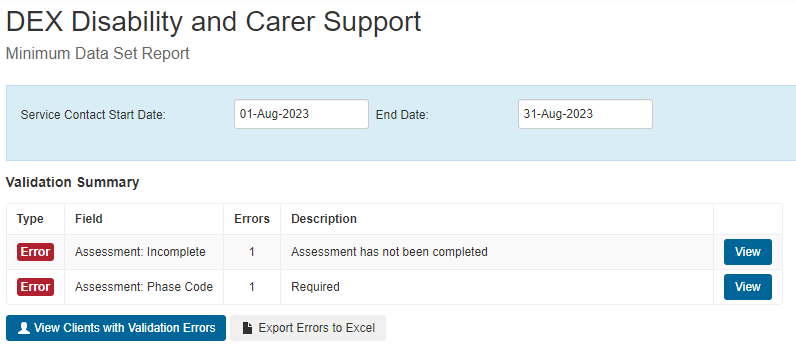
The MDS reports have filters that allow you to limit the validation process to certain criteria. Some MDS reports require you to enter a filter before displaying any data, whilst others may default to a set of values which you can change.
Some examples of filters are:
- Between two dates – Start Date and End Date
- By agency
- By agency staff member
To filter by a date range, either type in the date (DD/MM/YYYY) or use the date picker calendar by clicking on the Date Field to set both the Start Date and End Date.
The Agency filter is not available on all MDS validation reports. If you have access to this it will appear as a drop-down list with a default value set to “(All Agencies)”. Filtering by Agency is as simple as clicking on the drop-down list and choosing the agency you would like to filter on. Additionally, if you choose to filter by agency, you will be presented with the option to also filter by staff member. Choosing a staff member from the list will filter the report to only show records connected to them.
Once you are ready to run the validation report click on the Validate button.

Validation Errors
Following the Validation process there may be Errors and Warnings displayed in the Validation Summary. Any items with type Error will likely mean the record is rejected when uploaded to the appropriate MDS portal. Most Warnings are to ensure the data quality and integrity – they should be fixed if the correct data is available but may not result in a rejected record.

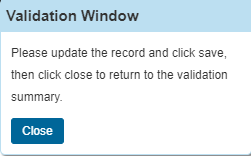
Click on the ‘View‘ button next to the error to go to the relevant form to fix the error. This form will be in ‘Validation mode’ so you can return to the MDS after the update by clicking the ‘Close’ button the popup.

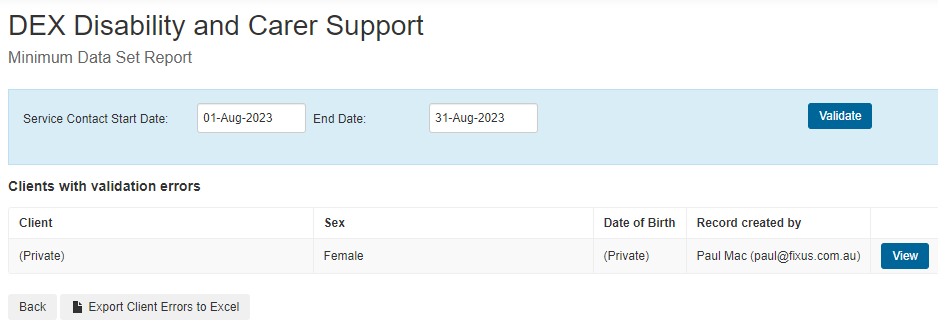
There is also the ‘View’ Clients with Validation Errors’ page for a client-centric list.
Viewing Clients with Validation Errors
A list of clients with errors is shown. Click on the ‘View’ button to go to that client record and fix any MDS Errors or Warnings, before returning to the MDS report.

Exporting Validation Errors
Clicking on the Export Errors to Excel button will produce an excel spreadsheet that contains a list of validation errors. The information provided includes the following for each validation error detected:
- Referral Id
- Support Facilitator
- Error Type
- Field
- Message Link
Creating a Submission
Once all validations errors have been rectified the following message will be displayed and the Create Submission button will be available.

Clicking on the Create Submission button will generate a MDS package file ready for submission to the MDS portal provided by the funding body. You will need to check with the funding body for instructions on providing the MDS package to them.
